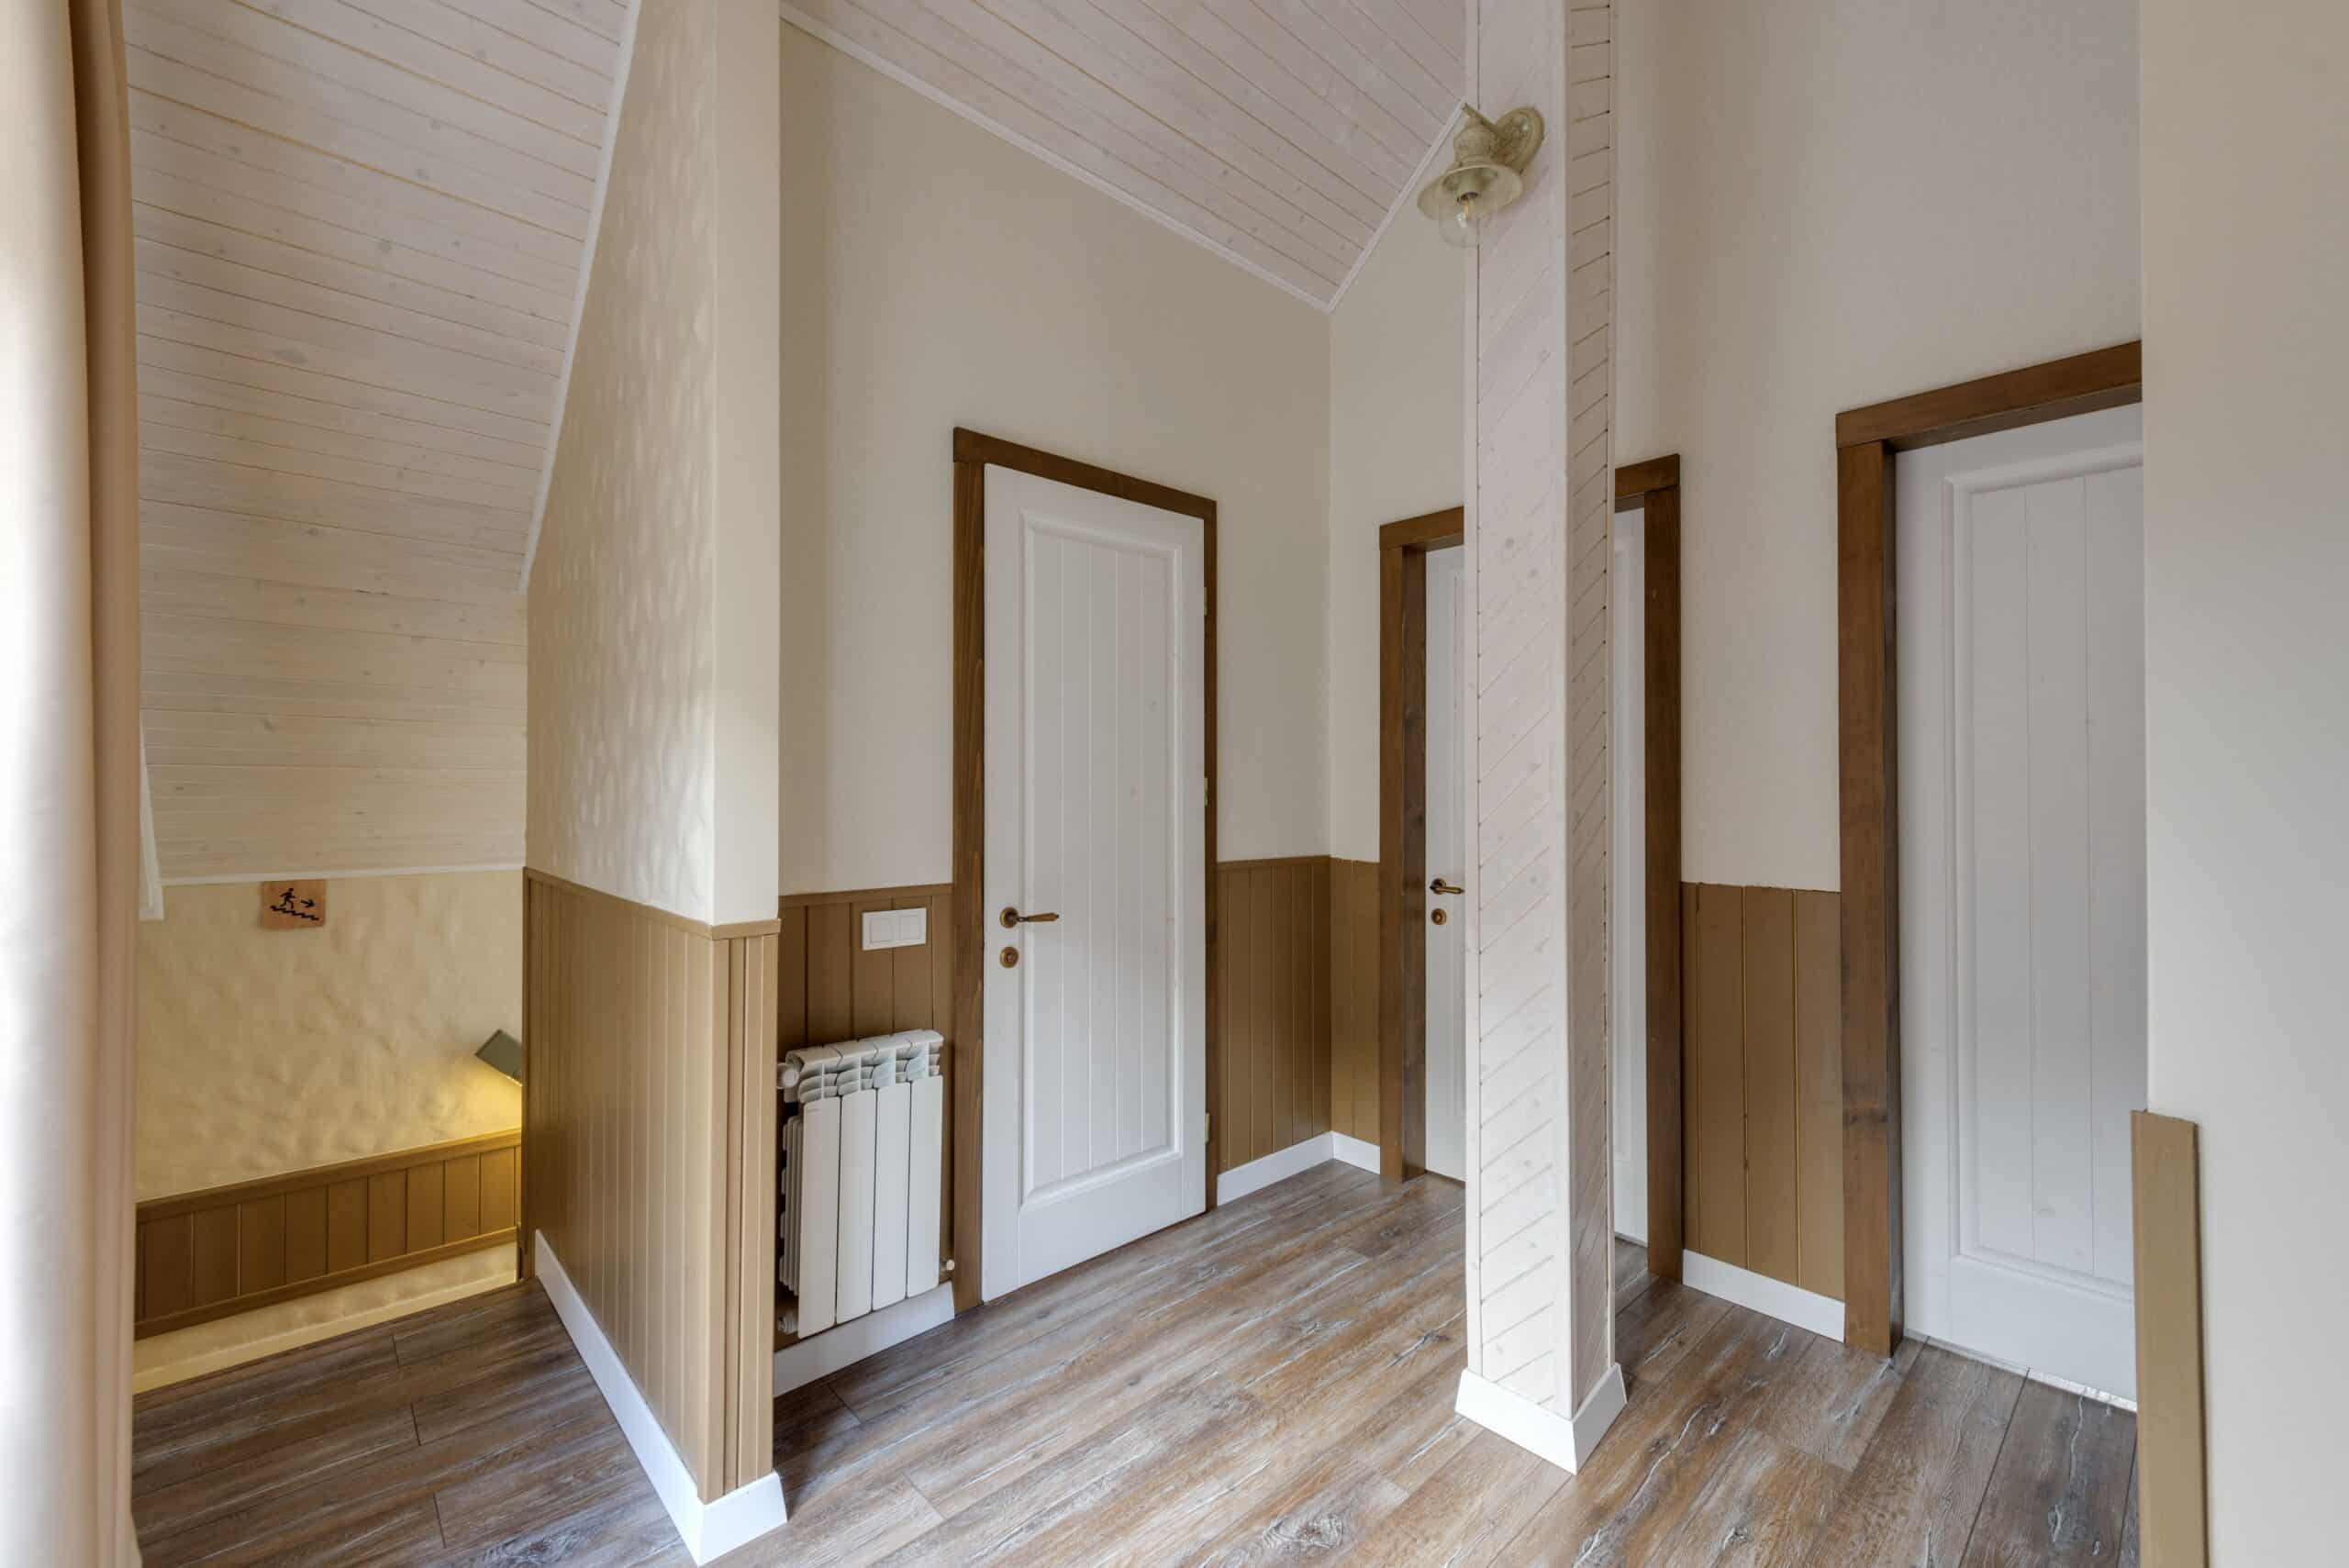
Why Hallways Are Prone to Noise Problems
Hallways act as central corridors that connect multiple rooms, making them natural channels for sound transmission throughout your home. Their long, narrow design creates an echo chamber effect, where sound waves bounce off hard walls, ceilings, and floors. Hard surfaces like drywall, hardwood flooring, and bare ceilings amplify footsteps, voices, and ambient noise. Additionally, hallways often contain hollow-core doors, gaps around door frames, and thin walls that allow sound to leak between living spaces. Understanding these vulnerabilities is the first step toward creating a quieter, more peaceful home environment.
Identify the Source of Noise
Before purchasing materials, determine where the noise originates. Sound travels in two primary ways: airborne noise (voices, music, television) and impact noise (footsteps, doors slamming). Walk through your hallway during noisy periods and pinpoint problem areas. Common culprits include thin shared walls, gaps beneath doors, uninsulated ceilings, and echo-prone hard flooring. Identifying whether you’re dealing with airborne or impact noise will guide your soundproofing strategy and prevent you from wasting money on ineffective solutions.
Step 1: Seal Gaps and Cracks
The fastest, most affordable soundproofing method is sealing air gaps, since sound travels easily through even small openings. Inspect your hallway for cracks around door frames, baseboards, electrical outlets, and where walls meet the ceiling.
- Apply acoustic caulk to seal cracks along baseboards, trim, and wall seams.
- Install foam gaskets behind electrical outlet and switch plates.
- Use weatherstripping around door frames to close visible gaps.
This step alone can noticeably reduce noise leakage and serves as the foundation for more advanced treatments.
Step 2: Address Hallway Doors
Doors are among the weakest points in any hallway. Hollow-core doors offer almost no sound resistance, allowing noise to pass freely.
- Upgrade to solid-core doors, which contain dense material that blocks airborne noise significantly better than hollow alternatives.
- Install a door sweep at the bottom to eliminate the gap between the door and floor.
- Add automatic door bottoms for an even tighter seal.
- Apply adhesive-backed weatherstripping around the door frame’s perimeter.
If replacing doors isn’t an option, attaching a soundproofing blanket or mass-loaded vinyl panel to the door surface offers a budget-friendly improvement.
Step 3: Soundproof the Walls
Walls transmit a large portion of hallway noise, especially when shared with bedrooms or busy living areas. Several methods can enhance wall soundproofing depending on your budget and effort level.
- Add mass-loaded vinyl (MLV): This dense, flexible material blocks airborne sound and can be installed beneath drywall or behind decorative panels.
- Install a second layer of drywall: Combine it with Green Glue, a viscoelastic compound that dampens vibrations between layers.
- Use acoustic panels: Decorative fabric-wrapped panels absorb echo and reduce reverberation in long hallways.
- Hang soundproof curtains or tapestries: These soft furnishings absorb sound while adding visual warmth.
For maximum effectiveness, combine mass (MLV or drywall) with absorption (acoustic panels) to tackle both sound blocking and echo reduction.
Step 4: Treat the Ceiling
Multi-story homes frequently experience noise traveling through hallway ceilings from upstairs activity. Soundproofing the ceiling reduces footsteps and impact noise from above.
- Install acoustic ceiling tiles designed to absorb sound.
- Add a layer of drywall with Green Glue to dampen vibrations.
- For serious noise issues, use resilient channels or sound isolation clips to decouple the ceiling from the floor structure above, preventing vibrations from transferring.
Decoupling is the most effective ceiling treatment because it physically separates surfaces, interrupting the path sound travels.
Step 5: Soundproof the Floor
Hard hallway flooring like tile, laminate, or hardwood reflects sound and amplifies footsteps. Softening these surfaces dramatically reduces both echo and impact noise.
- Lay down thick rugs or carpet runners to absorb footstep noise and reduce echo.
- Place acoustic underlayment beneath flooring if you’re renovating.
- Use rubber or cork floor mats for additional impact noise reduction.

Carpet runners are particularly effective in hallways, offering an easy, attractive solution that requires no construction.
Step 6: Add Sound-Absorbing Décor
Beyond structural treatments, everyday décor can meaningfully improve hallway acoustics. Soft, porous materials absorb sound waves and minimize the harsh echo common in narrow corridors.
- Hang fabric wall art or woven tapestries.
- Add a bookshelf filled with books, which naturally diffuse and absorb sound.
- Place upholstered furniture like a padded bench if space allows.
- Incorporate decorative acoustic panels that blend with your interior design.
These additions enhance both the soundproofing performance and aesthetic appeal of your hallway.
Step 7: Consider Professional-Grade Solutions
If your hallway requires comprehensive noise control—perhaps in an apartment building, office, or recording-adjacent space—professional solutions may be worthwhile.
- Soundproof insulation like mineral wool or fiberglass installed inside wall cavities.
- Double-stud or staggered-stud wall construction during renovations.
- Acoustic foam panels for high-frequency echo control in studios or media areas.
While these options involve higher costs and labor, they deliver superior, long-lasting results for demanding environments.
Budget-Friendly Soundproofing Tips
Effective soundproofing doesn’t always require major expenses. Prioritize these affordable, high-impact strategies:
- Seal all gaps with acoustic caulk and weatherstripping.
- Install door sweeps on every hallway door.
- Lay carpet runners over hard flooring.
- Hang soundproof curtains or heavy tapestries.
- Add a well-stocked bookshelf for natural absorption.
Combining several inexpensive solutions often produces results comparable to costlier methods.
Common Soundproofing Mistakes to Avoid
Avoid these frequent errors that undermine soundproofing efforts:
- Relying solely on acoustic foam: Foam absorbs echo but does not block sound transmission between rooms.
- Ignoring air gaps: Even soundproofed walls fail if gaps remain around doors and outlets.
- Using thin materials: Effective soundproofing depends on mass and density.
- Forgetting the floor and ceiling: Noise travels through every surface, not just walls.
Addressing the entire hallway as a system, rather than focusing on one element, ensures the best outcome.
Maintaining Your Soundproofed Hallway
Once your hallway is soundproofed, periodic maintenance preserves its effectiveness. Inspect weatherstripping and door sweeps annually for wear, replacing them as needed. Re-apply acoustic caulk if cracks reappear due to settling or temperature changes. Keep rugs and curtains clean to maintain their absorptive qualities. Routine upkeep ensures your investment continues delivering a quieter, more comfortable living environment for years to come.
Final Soundproofing Strategy Checklist
Use this quick-reference checklist to ensure complete hallway coverage:
- ✅ Seal all gaps and cracks with acoustic caulk
- ✅ Upgrade to solid-core doors with sweeps
- ✅ Add mass-loaded vinyl or extra drywall to walls
- ✅ Treat the ceiling with acoustic tiles or decoupling
- ✅ Cover floors with rugs and underlayment
- ✅ Incorporate sound-absorbing décor
- ✅ Maintain materials regularly
Following these steps transforms a noisy, echo-prone corridor into a peaceful transitional space, improving comfort and privacy throughout your home while adding lasting value to your property and daily living experience.